Wednesday, April 23, 2014

17c Hat Progress. . .

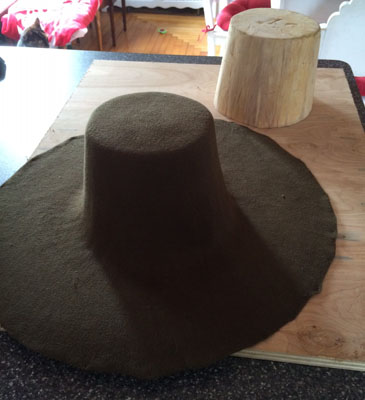
My shellac finally arrived yesterday, and as I was working from home and knew it would arrive that day, I started my work day quite early so that I could do the first coat at lunch break, the second immediately after work, and then additional coats throughout the evening as needed. But first, it had to come off the block!


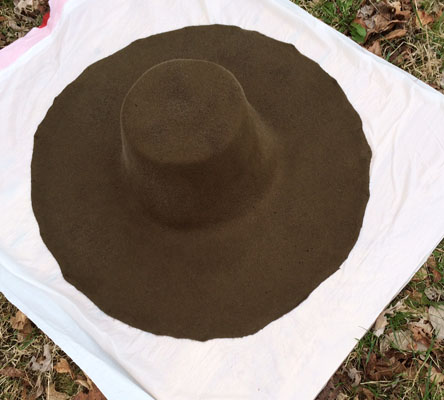
Next, I moved the adventure outdoors and gave the hat its first coat of shellac:


I did so many coats! My last one, it was almost totally dark out! I was using a pre-mixed shellac/denatured alcohol that came in a spray bottle, ready to go. I won't go this route again because even with so many generous coats, it still is too floppy, and worse, it caused white blotches which you'll see in some of the pictures below. So, for the next time, I'm going to go with the more traditional brush-on type! And for this hat. . . Well, I'm out of time until I get back from Virginia on Sunday! But post-Fort Fred, I'll try to remove those blotches, and then try out the brush-on mixture on this hat (before I move on to my really nice quality black capeline!)

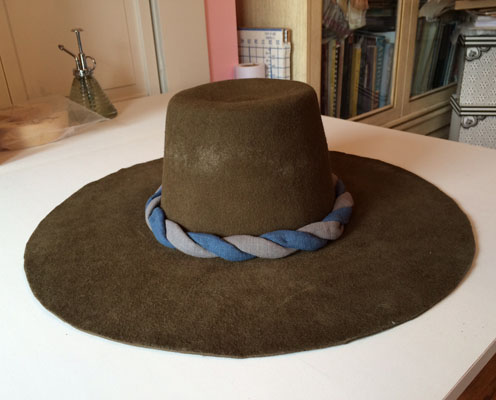
But, pretending I'm done with stiffening, and having trimmed the edges to be nice and smooth, added a hat band and some temporary trimmings, here is my hat:


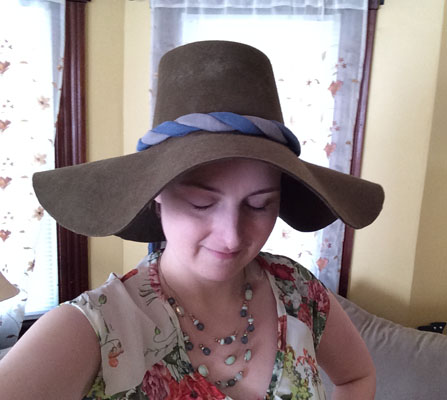
And, the best I could do to get a picture of it on since nobody else is here and I'm not good at selfies:


So far. . . I love it! I think I might cut back the brim a bit more, but I'm going to wait until I've finished stiffening to make a final judgement call on that. Also, clearly that's not a period-correct ensemble for this hat! Another post-Fort-Fred-trip project. ;)

In other news, I had so much fun with making this that I forsee the possibility of becoming a bit of a felt hat making addict! I'm already coming up with ideas of all kinds of hats for various eras. . . Although, the trick will be coming up with appropriate hat blocks!

Sunday, April 20, 2014

Adventures in hat blocks & blocking. . .

I was recently asked if I had ever tried blocking felt hats, and my answer was no, that I'd only worked with shaping straw hats. So, I decided to block a felt hat! I placed an order with a millinery supply shop for a lovely quality black wool felt capeline (and some shellac) but just had a funny feeling it was going to take a while to get to me. As I was very anxious to get going on this project, I bought a couple of cheap hat blanks on eBay. This turned out to be a good decision because I'm still waiting for the millinery supply hat, but the eBay hats arrived on Saturday!

So, I had hat blanks, but the one critical thing that I was missing was a hat block. I searched everywhere I could think of online, but all I could find were the usual oval/head-shaped blocks. What I was after was a round block, with a sort of tapered cylinder shape. I simply could not find what I had in mind, but one can not very well shape a hat without something to shape it on! So I thought perhaps if I had a fabric with no give and a firm weave, I could make it of fabric and stuff it somehow. As it turns out, I have this ridiculous plaid fabric that I've been hanging on to even though I thought it really had no purpose since it was almost like plastic, it was that stiff and non-stretchy! Even on the bias, this fabric pretty much doesn't budge! So, yesterday, I patterned it and sewed it up. . .
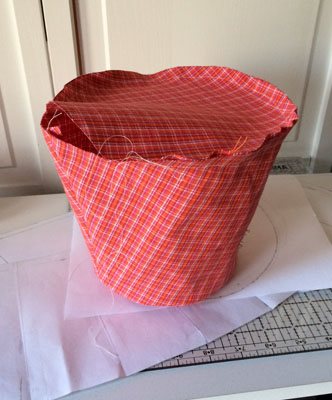


I left the seams on the bottom outside intentionally so that it would be a bit easier to sew the opening once the form was stuffed! And, that brings me to the next problem: What to stuff it with? I thought perhaps sawdust, since that is what I use for making the bodies for my reproduction French fashion dolls, but I didn't have enough on hand to fill it. So, I decided to try sand, since it's really cheap and can be bought at any Home Depot or Lowe's. Here is the finished item (and my highly sophisticated sand scoop!) ;)
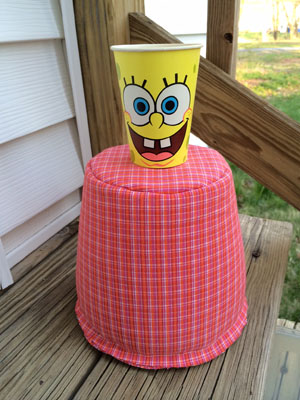


I felt like I might have over-stuffed it a bit, so I ended up removing a bit of it. Woody was very helpful with this. . . Or, maybe he thought this was some funky new form of a litter box!
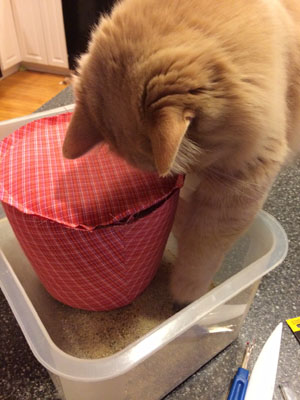


I think this option could theoretically have worked, but even though the fabric did not stretch, and the sand was VERY tightly packed (I used a mallet and pounded it into the most compact pile of sand I could manage), the entire thing still seemed to shift a bit from side to side if given a decent nudge. After all, this is sand we are talking about! I think it would have been a giant headache to be worried about checking that it was still upright and level the whole time I was also trying to shape the hat! So it's a good thing I have such an awesome husband who was willing to try to turn a log from the wood pile into a wood hat block!
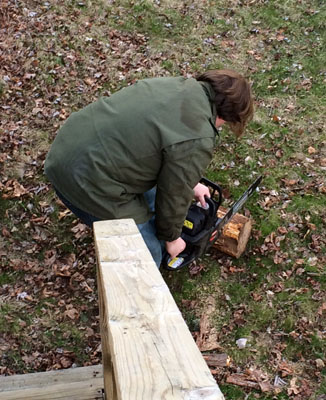


We don't have a lathe, so Glenn was limited to chisels and his sander. I think it actually turned out quite well! (It actually tapers a bit more in "real life" than it appears to in the picture. Not sure why it would not photograph the way I was seeing it!) I felt like I could totally use this for my felt hat making experimentation.
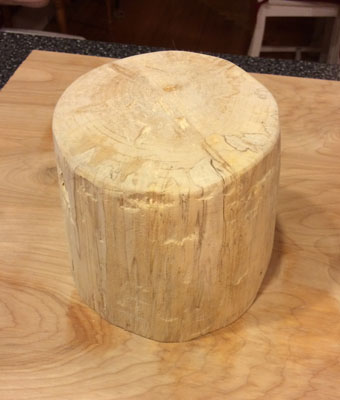


Funny story: We had this long conversation on Saturday morning about how it would be so great to know someone who did woodworking, or who at least had a lathe, but alas, we didn't have the proper connection. Meanwhile, little did we know, Glenn's brother was not even thirty minutes away, messing around with his newly-purchased lathe! Found that out this morning at Easter brunch. Things I wish I knew yesterday!!! Ha ha ha!

This morning, I got up early so I would have time to block my hat before heading out to Easter brunch at the in-laws' house. Here is the "before" shot of the capeline:
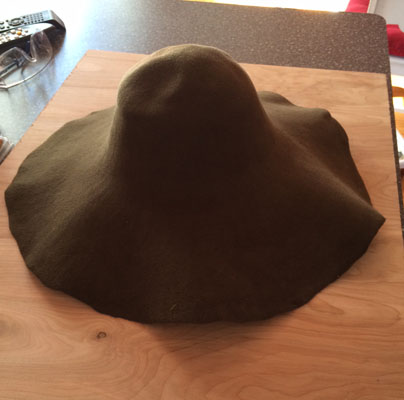


I got it really damp and pliable using a combination of my steamer and a plant mister, molded it over Glenn's block, and used push pins to hold the brim out the way I wanted it. I was aiming for something along the lines of some extant 17th century hats in the Victoria & Albert Museum, (T.22-1938 and T.23&A-1938). I think it turned out pretty well! Mine might not taper quite as much as my inspirations, but after all, this was about challenging myself to shape a felt hat, not create a hat block, right? So I'm calling this a success! ;)
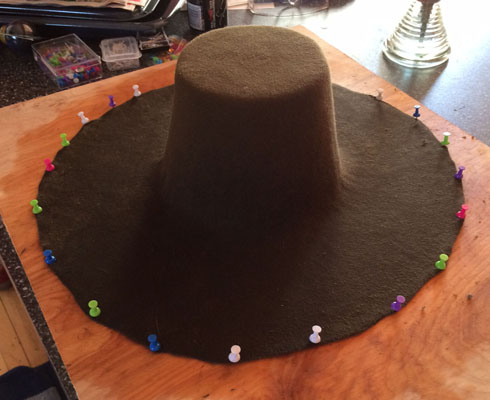


So now, I'm letting it dry, and also waiting for my shellac to arrive in the mail. Then I'll give it a couple of coats of that, then trim it, and it will be ready to wear!
Monday, April 14, 2014

Regency Intensive Dance Weekend, and the start of a new dress. . .

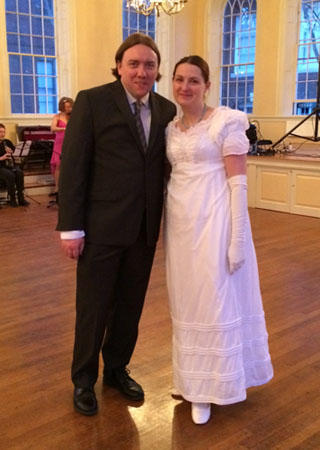
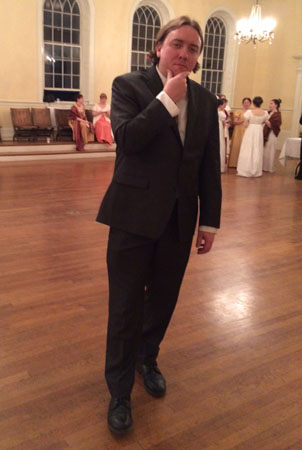
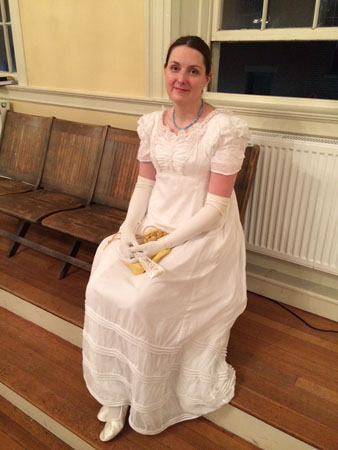
I've just returned home from the CVD Regency Intensive Dance Weekend, and thought I would promptly post my few pictures. Why so few? Because we were dancing almost non-stop! There were five hours of classes on Saturday, followed by a soiree in the evening. The pictures below are from that soiree. . .


Glenn looking thoughtful and dapper:


And myself looking perhaps a little tired and overwhelmed (as indeed I was):


Guys, they mean it when they call this weekend "intense." Indeed, for someone who has almost zero dancing experience, and especially someone like me who is better off learning things a small chunk at a time as opposed to ALL THE THINGS at once in one half of a day, it really is quite grueling and overwhelming. That said, the CVD people are AWESOME. They are so friendly and welcoming, and patiently guided us through each dance we messed up (which was almost all of them, unfortunately!) I did learn the basic steps so that theoretically, I can dance a dance if someone just tells me what the "moves" are and queues me as to when I'm supposed to do them vs. wait for the head couples to move to a certain point. . . But if nobody is prompting me? I get lost. Also, when they taught the basic travelling step at the start of the weekend, I apparently did it completely wrong, and didn't know that until several dances in, when another dancer kindly caught me aside on a water break and very patiently helped me re-learn it. But, since I'd missed the chance to repeatedly practice it (correctly, anyhow), it's like I couldn't get it into my muscle memory because I was so busy trying to memorize everything else. Anyhow. Really long story short is that it was a lot to absorb in a condensed amount of time, and I felt so bad about messing up all their dances, especially since we seemed to be the only ones who weren't pros! So, we decided that instead of doing the second day, we'd go off and have a tourist day in the north shore. Hence, no pictures of the grand ball. Instead, we took a little driving tour of the area had some delicious ice cream by the sea in Gloucester, and finished up the day by taking in a movie. Very relaxing, which is just what we needed after the non-stop pace of the day before!

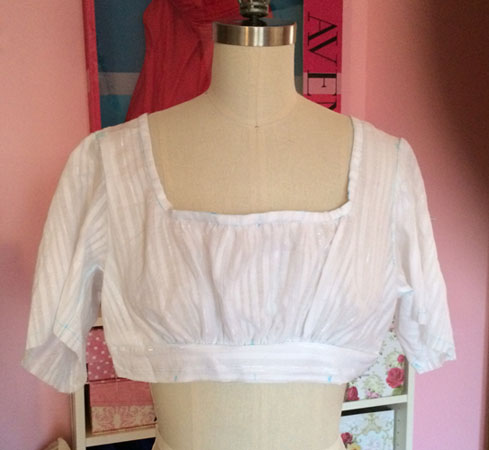
I'd started a second ball gown (since there would be two evening events, and I thought it would be more fun to have a different dance for each!) but to be honest, by the time the classes ended, I already suspected I wouldn't be attending day two, so I didn't make an attempt to swiftly finish the second dress, and instead just wore my fancier ball gown to the soiree. Here's a sneak peek of the second ball gown that is not quite finished yet:


I really love this fabric, which is a wonderfully lightweight cotton with self-stripes as well as a thin silver metallic stripe running through it here and there (and cost me only $2.50/yard!) I finished all the seams as I went along, so I really do just need to add the skirt (panels are already seamed and ready to go), sleeve bands, and a hem. Exciting! But, I'm going to set this aside for a few weeks while I put finishing touches on my 18th century attire since there are now less than two weeks to my next costuming adventure: Fort Fred! Hooray for an exciting April full of sewing/costuming adventures!